MRCOOL Heat Pumps 4th Generation E Star DIY® - Single Zone
-
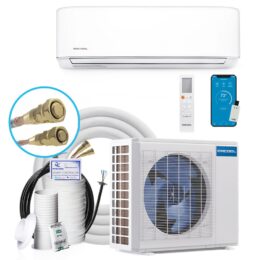
12000 BTU (115V) DIY 4th Gen E STAR Mini Split Heat Pump – DIY-12-HP-WM-115C25
$2,698.60 Select options -
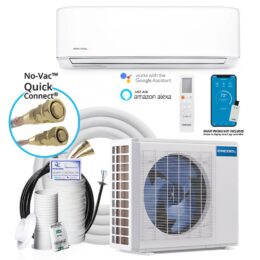
18000 BTU DIY 4th Gen E STAR Mini Split Heat Pump – DIY-18-HP-WM-230C25
$3,244.50 Select options -
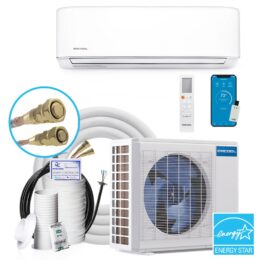
24000 BTU DIY 4th Gen E STAR Mini Split Heat Pump – DIY-24-HP-WM-230C25
$3,790.40 Select options -
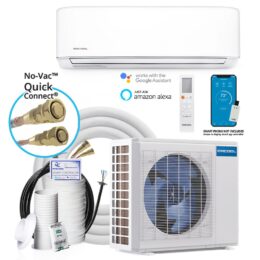
36000 BTU DIY 4th Gen E STAR Mini Split Heat Pump – DIY-36-HP-WM-230C25
$4,315.70 Select options
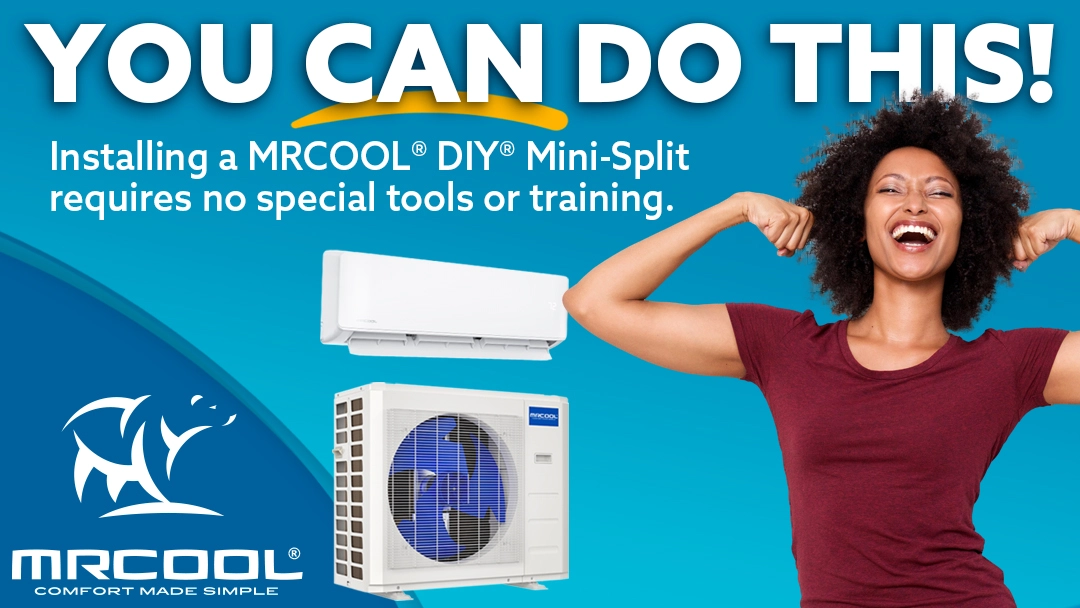
Meet Your New HVAC System
- No-Vac Quick Connects
- Gold Fin Condenser
- Horizontal Side Discharge
- High Efficiency and Energy Star Rated
- Wall Mounted Air Handler
- Pre-Charged Line Sets
- Hassle Free Installation
- Virtual Assistant Compatible
- Remote and Thermostat in One
- SmartHVAC App

What’s Included
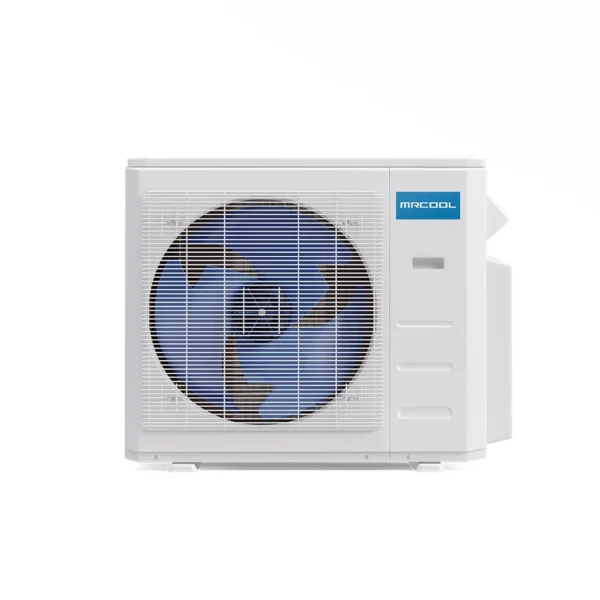
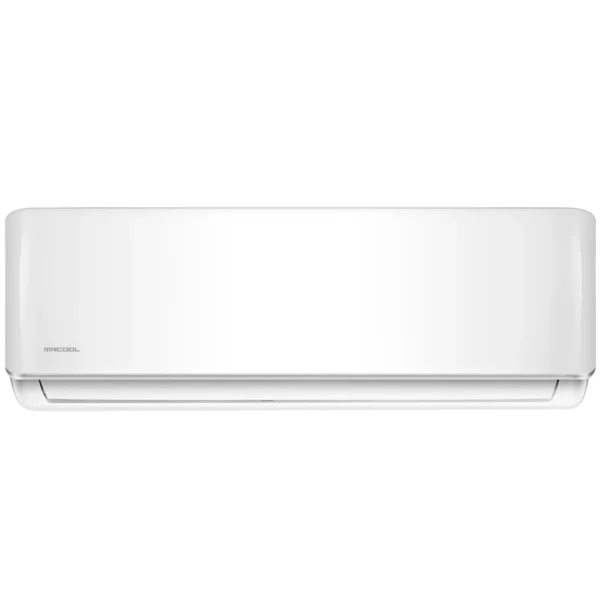
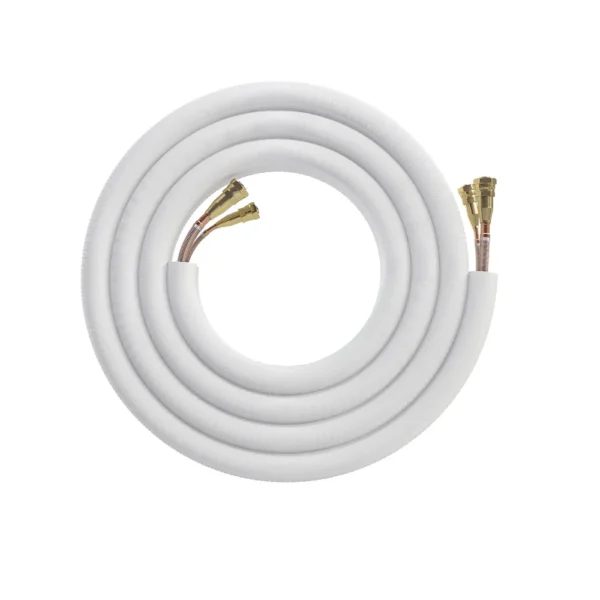
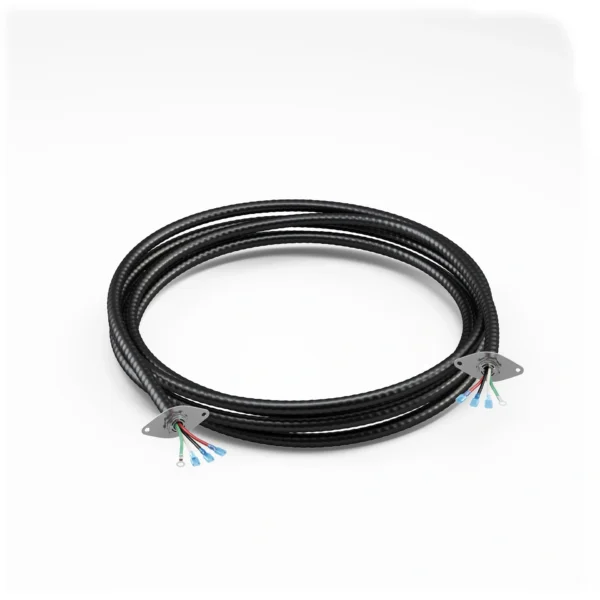
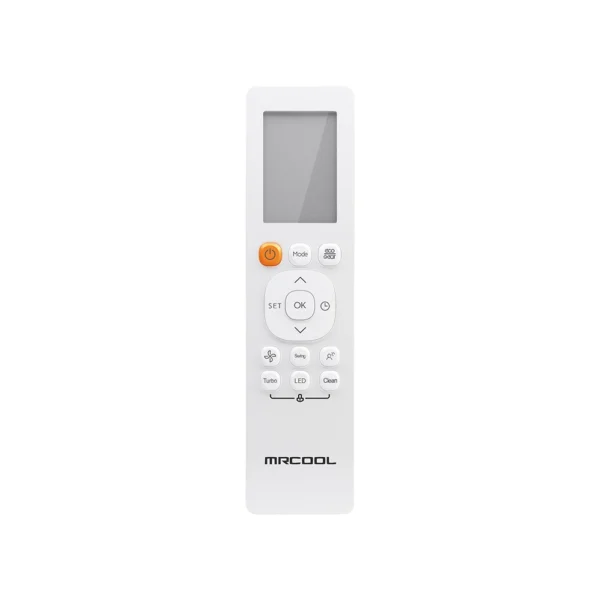
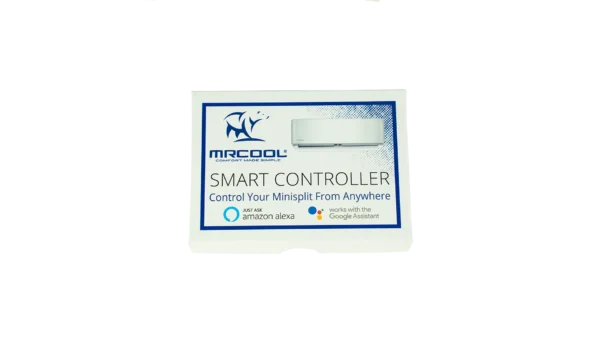
Other included components for installation
Also included with your system is all the needed hardware and items for a basic installation. This includes:
- Mounting Plate and Template
- All Necessary Hardware
- Mountable Remote Control Holder
- Allen Wrench
- Neoprene
- Insulating Material
- Sound Dampening Pads
- UV Tape
- Wall Sleeve
- Drain Hose
You can rest easy knowing that our goal is to make your installation as easy as possible.
Additional Tools Needed for Installation
To complete your installation, there are a few basic tools that it is recommended to use. These are:
- Tape Measure
- Electric Drill
- Hole Saw
- Level
- Ladder
- Two Adjustable Crescent Wrenches
- Liquid Soap
- Spray Bottle
- Screwdriver
You will also need the proper electrical connections including a breaker box, disconnect switch, and electrical wire. The wiring needed to connect the condenser and the air handler is included however.
How To Install Step by Step
1.1. Choose Your Install Location for the Indoor Unit
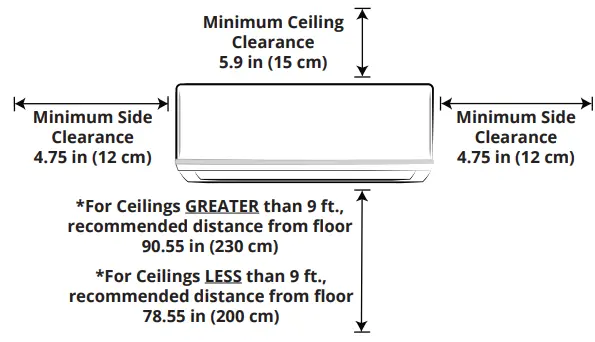
The most important step is choosing that perfect location for the indoor air handler. Ensure that there will be proper clearance around the unit to provide for optimal air flow.
*ADDITIONAL ITEMS NEEDED: TAPE MEASURE*
1.2. Attach the Mounting Plate to the Wall
Next, you will want to attach the mounting plate to the wall using the provided template and a level. The mounting plate can be found attached to the back side of the air handler unit.
*ADDITIONAL ITEMS NEEDED: DRILL, LEVEL*
1.3. Drill Wall Hole for Piping
You will then need to drill a hole in the wall using a hole saw. This hole will be where the line sets, communication wires, and condensation drain pipe run through to the outside.
*ADDITIONAL ITEMS NEEDED: DRILL, HOLE SAW*
1.4. Prepare the Piping for Mounting
Now you will need to carefully bend the refrigerant piping away from the air handler and get it ready for mounting. This piping will exit out of the wall through the hole that you just drilled, and should be bent and prepared to make it easily exit that hole while setting the air handler to the plate.
*ADDITIONAL ITEMS NEEDED: NONE*
1.5. Mounting the Air Handler
The time has come to attach the air handler to the wall, thus finishing the indoor installation segment. The refrigerant and drainage pipes should be ran through the pre drilled hole while positioning the air handler into place. Then once those are out of the way, you can snap the air handler onto the mounting bracket and will hear an audible snap as it attaches.
*ADDITIONAL ITEMS NEEDED: NONE*
2.1. Placing the Condenser
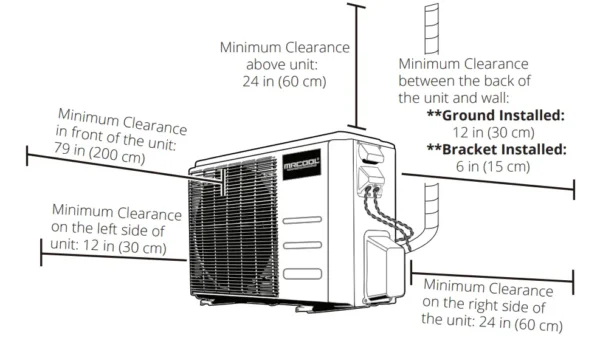
The first step for the outside installation will be selecting the right location for the condenser. Like with the air handler, make sure that the minimum space requirements are met to allow for optimal air flow around the unit to ensure maximum comfort.
*ADDITIONAL ITEMS NEEDED: TAPE MEASURE*
2.2. Preparing the Exterior Wall Hole
Next, you will want to prepare the refrigerant lines that you ran through the wall when installing the air handler by gently bending those downwards. After that, you can clean up and insulate the hole going through the wall using the supplied wall sleeve and neoprene.
*ADDITIONAL ITEMS NEEDED: LADDER*
2.3. Unwind the Line Set
Now take the provided line set and unroll the length that you will need to span the distance between your air handler connections that you just prepared and your condenser. Leave any excess coiled up for a cleaner looking installation.
*ADDITIONAL ITEMS NEEDED: NONE*
2.4. Connect Line Set to the Indoor Line Connections
Now take the line set that you just unrolled and connect the uncoiled end to the lines that you ran through the wall from the inside unit. These will need to be tightened using a pair of crescent wrenches until they are comfortably tightened down. Don’t try to force them, but also ensure that they are tightened down comfortably.
*ADDITIONAL ITEMS NEEDED: TWO ADJUSTABLE CRESCENT WRENCHES*
2.5. Connect Line Set to the Condenser
Now remove the water tray from the condenser using a screwdriver, exposing the condenser’s line set connections. You will need to attach the other end of the line set to these connections using the same method and tools from the previous step.
*ADDITIONAL ITEMS NEEDED: SCREWDRIVER, TWO ADJUSTABLE CRESCENT WRENCHES*
2.6. Open the Refrigerant Valves
For opening the valves on the condenser, you will first want to use a crescent wrench to remove the valve covers at the condenser. After that, using the provided Allen key, turn the valves counter clockwise as far as they will go without over tightening and then put the valve covers back on.
*ADDITIONAL ITEMS NEEDED: ADJUSTABLE CRESCENT WRENCH*
2.7. Check Connections for Leaks
Using a mixture of liquid soap and water in a spray bottle, check for any leaks at the connections of both the indoor and outdoor unit. Spray the solution onto the connections. If you see any spots where there are large bubbles forming, then this indicates a leak and the connections should be tightened down more.
*ADDITIONAL ITEMS NEEDED: LIQUID SOAP, SPRAY BOTTLE*
2.8. Attach Sound Deadening Pads
If no leaks are discovered, you can now attach the provided sound deadening pads to the connections. Then wrap the exposed lines with the provided insulation material and UV tape. These reduce noise levels, improve efficiency through insulation, and prevent UV damage caused by sunlight to the line sets.
*ADDITIONAL ITEMS NEEDED: NONE*
2.9. Connect the Drain Hose
To finish off this section of the installation, connect the provided drain hose extension to the drain hose that you ran through the wall prior. Ensure that the hose outlet is free from debris and is able to freely expel water to prevent clogging or water backup. Now we recommend testing this by removing the air filter in the inside unit and pouring a little water into the drain pan to ensure that it freely drains outside.
*ADDITIONAL ITEMS NEEDED: NONE*
3.1 Electrical Connections
The final step before the installation is complete is connecting the electrical cables. This includes putting in a disconnect switch for the system, running the needed electrical cables from the breaker box to the disconnect switch and then from there to the condenser, and then finally running the provided communication wiring from the condenser to the indoor air handler.
*ADDITIONAL ITEMS NEEDED: BREAKER, DISCONNECT SWITCH, ELECTRICAL WIRE, SCREWDRIVER*
Resources
Comfort Made Simple
BENEFITS & FEATURES
Easy DIY®
Installation
Precharged R-410 Quick Connect® Line Set
Pre-charged linesets allow you to install this innovative ductless system without special tools, equipment, or training. Couplers are available for extended lengths. Check out our patent here.
Smartphone App
Enhanced Control from Anywhere
Control your MRCOOL DIY® anywhere with your Apple or Android smart device and an internet connection.
NEW DIYPRO™ Cable
Safety & Durability
The included DIYPro™ Cable eliminates the need for electrical conduit providing higher mechanical protection and durability.
Follow Me® Function
Personalized Performance
Keep the remote close by, and the MRCOOL® Follow Me® Function will track the air temperature around you to ensure you receive maximum comfort.
Leakage Detection
Protecting Your Investment
When the MRCOOL Easy Pro® detects low coolant an alarm will sound to alert you to the problem. This will prevent damage to the compressor while you maintain high air comfort.
Low Ambient Cooling
Cooling Down to 5°F
This feature makes the MRCOOL Easy Pro® the ideal system for server rooms, greenhouses, and any other application that requires cooling all year.
Auto Restart
Never Lift a Finger
Sleep Mode
24-Hour Comfort
We made Sleep Mode easy to program to save money, and let you sleep a little easier.
Louver Position
Memory
Remembers So You Don’t Have To
Horizontal louver will automatically move to the same position as you set last time the unit was turned on.
Gold Fin® Condenser
Corrosion Resistant
Live on the coast? Don’t worry, our condenser is built to resist long term corrosion.
![]()
Digital Assistant Ready
Google Assistant & Amazon Alexa
The new MRCOOL® Smart HVAC Controller® Module and App fully support Google Assistant & Amazon Alexa out of the box.
Best Warranty in
the Business
Limited Lifetime* & 7 Yr Replacement* on Compressor + 5 Yr Parts
4th Gen DIY®s have an optional LIMITED LIFETIME compressor warranty*, a 7-year compressor replacement* warranty, and a standard 5-year parts warranty for the original registered owner. See rules and restrictions here.


